Exposure indicator LUT
Attention: This is a virtual product and it will be sent to Your email as the download link. If You won't get an email with the link to Your inbox, please make sure to check the Spam folder too. Sometimes emails with the links are recognised as Spams. Thanks for choosing GradeLikePro.
Exposure indicator LUT
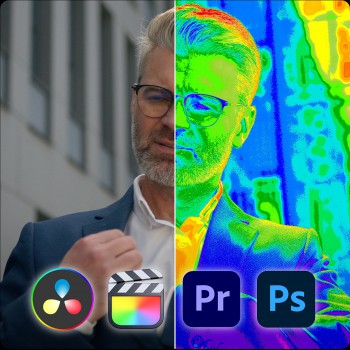
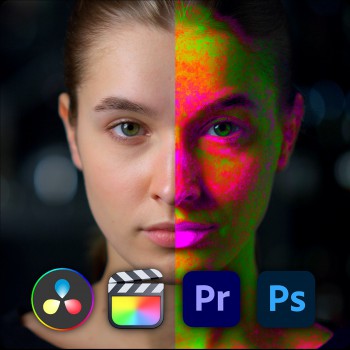
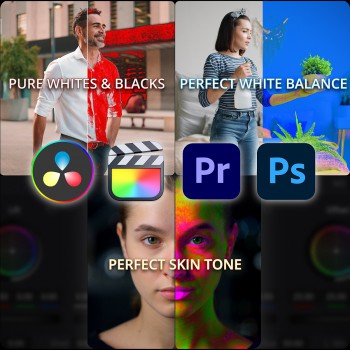
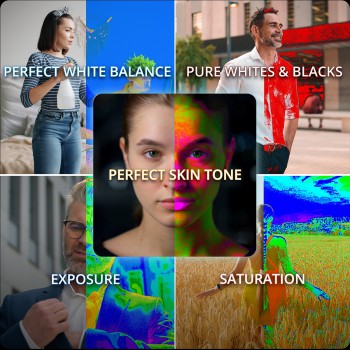
This LUT helps to set the correct exposure levels in an image. Perfectly expose the skin in middle grey for accurate skin tone render.
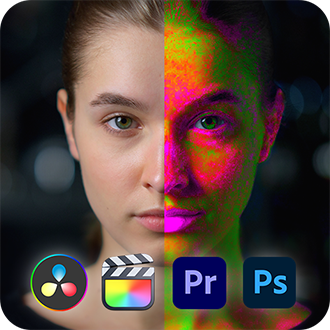
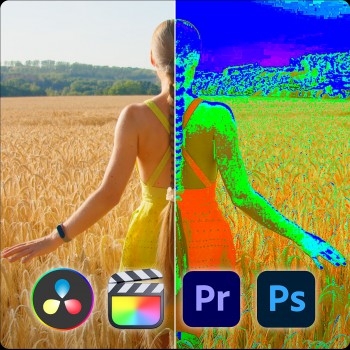
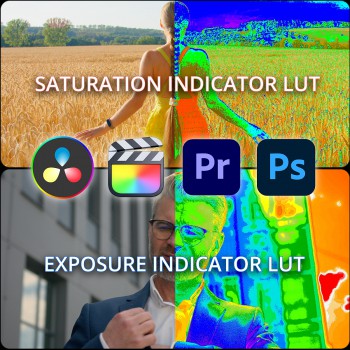
LUT indicates exposure levels in colors.
Cool Magenta - Blue - Cyen colors indicates darker levels, while warm Green - Yellow - Orange indicates brighter levels. That highly speeds up the exposure and contrast correction process without constantly looking at the scopes.
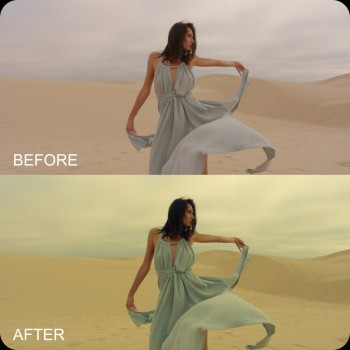
Also helps to analyse the movie stills or photos to see their exposure levels in certain image places and characters skin. Then use this information as the reference on Your own images.
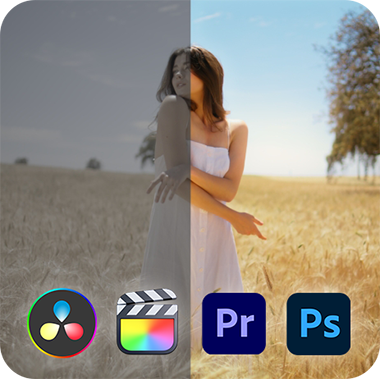
This LUT works in any software like Davinci Resolve, Adobe Premiere, Final Cut Pro, Photoshop and so on.
How to use it:
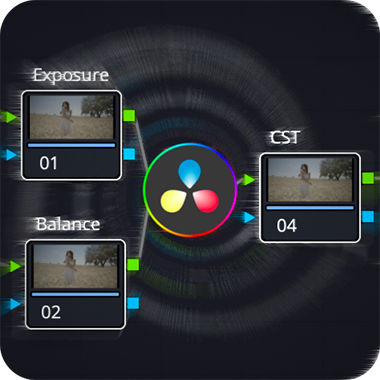
Using it in Davinci Resolve: apply this LUT as the last node after Rec709 conversion and make all the adjustment before this LUT.
Using it in Adobe Premiere and Final Cut Pro: apply this LUT as the adjustment layer above Your clip and make all the adjustment in the clip below this LUT.
Using it in Photoshop: apply it as the last top layer using Color Lookup tool and make adjustments in color balance before/below LUT layer.
Then after all of Your adjustments just turn off or delete this LUT.

