


Attention: This is a virtual product and it will be sent to Your email as the download link. If You won't get an email with the link to Your inbox, please make sure to check the Spam folder too. Sometimes emails with the links are recognised as Spams. Thanks for choosing GradeLikePro.
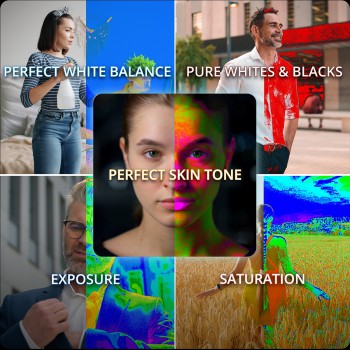
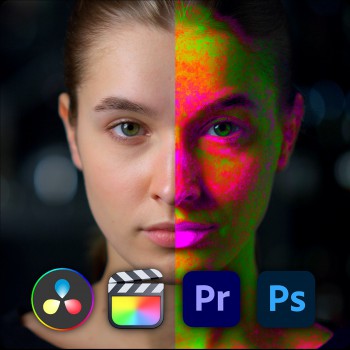
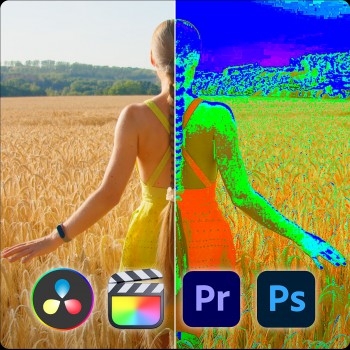
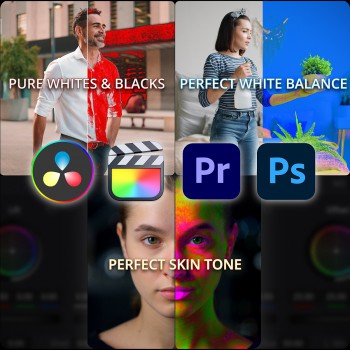
Perfect white balance indicator LUT
This LUT helps to white balance an image and get the correct whites and blacks and an overall color balance.
It indicates Yellow, Blue, Green and Magenta colours and their blend in an image. You will see what colours are dominant in certain image areas.
For example: if the supposed white or black area in a image is indicated in any color, this color should be reduced by introducing an opposite color to neutralise it.
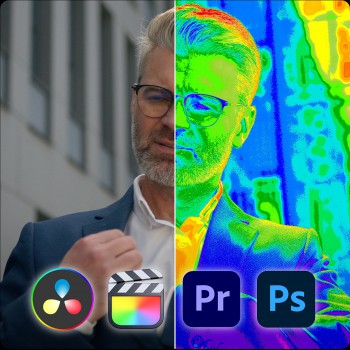
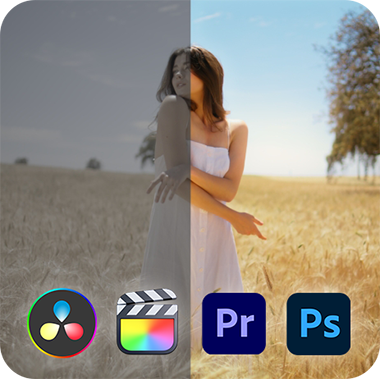
If an image includes white reference point like clothes, background elements or any other objects that will highly help to improve Your white balance using this LUT.
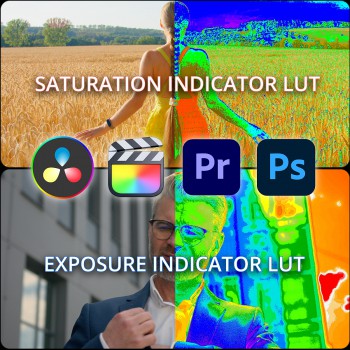
If there are no white reference in an image it also helps to balance an image, in this case making suggestions to twick the colours and get better colour spread and blend on an overall image and balancing amount of different colours on the scopes of DaVinci Resolve, Final Cut Pro or Adobe Premiere, Photoshop.
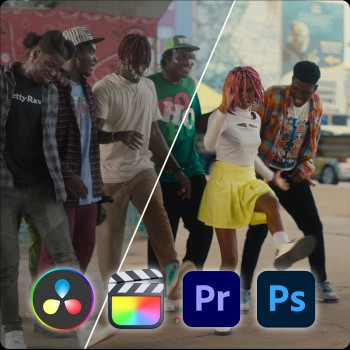
This LUT works in any software like Davinci Resolve, Adobe Premiere, Final Cut Pro, Photoshop and so on.
How to use it:
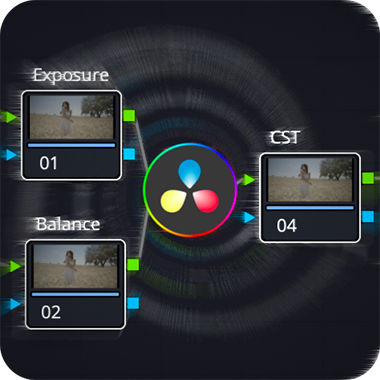
Using it in Davinci Resolve: apply this LUT as the last node after Rec709 conversion and make all the adjustment before this LUT.
Using it in Adobe Premiere and Final Cut Pro: apply this LUT as the adjustment layer above Your clip and make all the adjustment in the clip below this LUT.
Using it in Photoshop: apply it as the last top layer using Color Lookup tool and make adjustments in color balance before/below LUT layer.
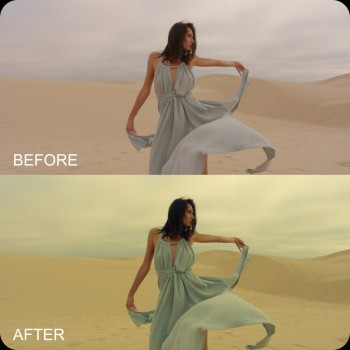
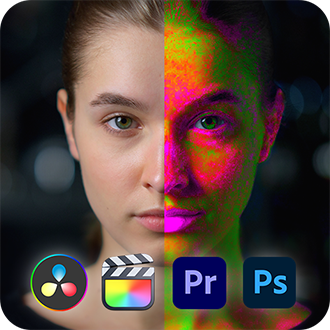
Balance Your image using native software tools like Global wheels or Color Balance sliders while You get a clean unsaturated whites and blacks or better image color separation where the dominant color tint will be reduced and balanced.
Then after all of Your adjustments just turn off or delete this LUT.
DOWNLOAD THE PDF FILE WITH MORE DETAILED INFORMATION AND REAL LIFE USE EXAMPLES OF THIS LUT
Welcome to watch my Youtube episode, which explains a real life use of this LUT:
Perfect white balance indicator LUT